Avaya ATF 2015 Vienna

ATF_viennaI will be at the Avaya ATF Forum 5 – 8  May 2015 in Vienna.

It is my first ATF , so I am curious what Avaya will show. I hope it will be a deep dive into the technology with a lot of SPB related content. The Agenda looks very promissing.

If you also attending and would like to have a chat, drop me a massage.

See you in Vienna.

https://news.avaya.com/eu-avaya-technology-forum-2015-index

Posted in All, Avaya, Blog | Leave a comment

How to configure SNMPv3 for Avaya VSP and ERS Switches

Besides the CLI and web interface all Avaya Switches supports also the access via SNMP. In the old days the JavaDevice Manager had offered a graphical configuration Interface for your switches. In the backround all configuration changes or show commands where proceded with SNMP from the JDM. The Avaya Configuartion and Orchestration Manager COM still utilize SNMP the same way as it was done by the JDM. I also use SNMP very often for monitoring switches. In the old SNMPv1/v2 the passwords wich are called communitys where transmitted in clear text over the network. Since SNMPv3 we have encrypted communities and a User based role model. I recommand only to use SNMPv3 these days but if you are oldfashioned and still prefer telnet over ssh the old unencrypted SNMPv1/v2 is also available.

For the different device familys you need individual commands to setup SNMP, I will give you here some examples how to setup SNMP.

VSP 4000, 7200, 8000 or 9000 Switches:

On the VOSS Images prior to release 4.2 you needed to load the modules image to have the SNMPv3 feature. Since SW 4.2 the encryption modules are included in the main image.

SNMPv3

snmp-server user test group example-group sha testauth aes testpriv
snmp-server group example-group "" auth-priv read-view root write-view root notify-view root

In this example I craeted a read/write user with full access. You can change the views for the case you want to limit the access that a particular User has.

For the case you want to send your communitys in clear text with SNMPv1/v2

snmp-server community public group readgrp index first secname readview
snmp-server community private group v1v2grp index second secname initialview
 

To disable the default communities:

no snmp-server community public
no snmp-server community private

ERS 2000, 3500, 4000, 5000 Switches

On the stackable Switches you need the “S” or secure image to have the SNMPv3 feature.

snmp-server user test sha testauth aes testpriv read-view nncli write-view nncli

This example shows a read/write user with full access on the ACLI


ERS 8000 ACLI

On the ERS8000 the encryption images need to be loaded first before you can use the SNMPv3 feature.

load-encryption-module 3DES
load-encryption-module DES
load-encryption-module AES

After you have loaded you can start to configure SNMPv3

snmp-server user test group example-group sha testauth aes testpriv
snmp-server group "example-group" "" auth-priv read-view root write-view root notify-view root
snmp-server user test group "SNMPwrite"


Cisco Catalyst

The SNMPv3 config for a Cisco IOS based Catalyst switch would look like this:

snmp-server user test test v3 auth sha testauth priv aes 128 testpriv access 22


Posted in All, Avaya, Howto | 1 Comment

Home Network Installation

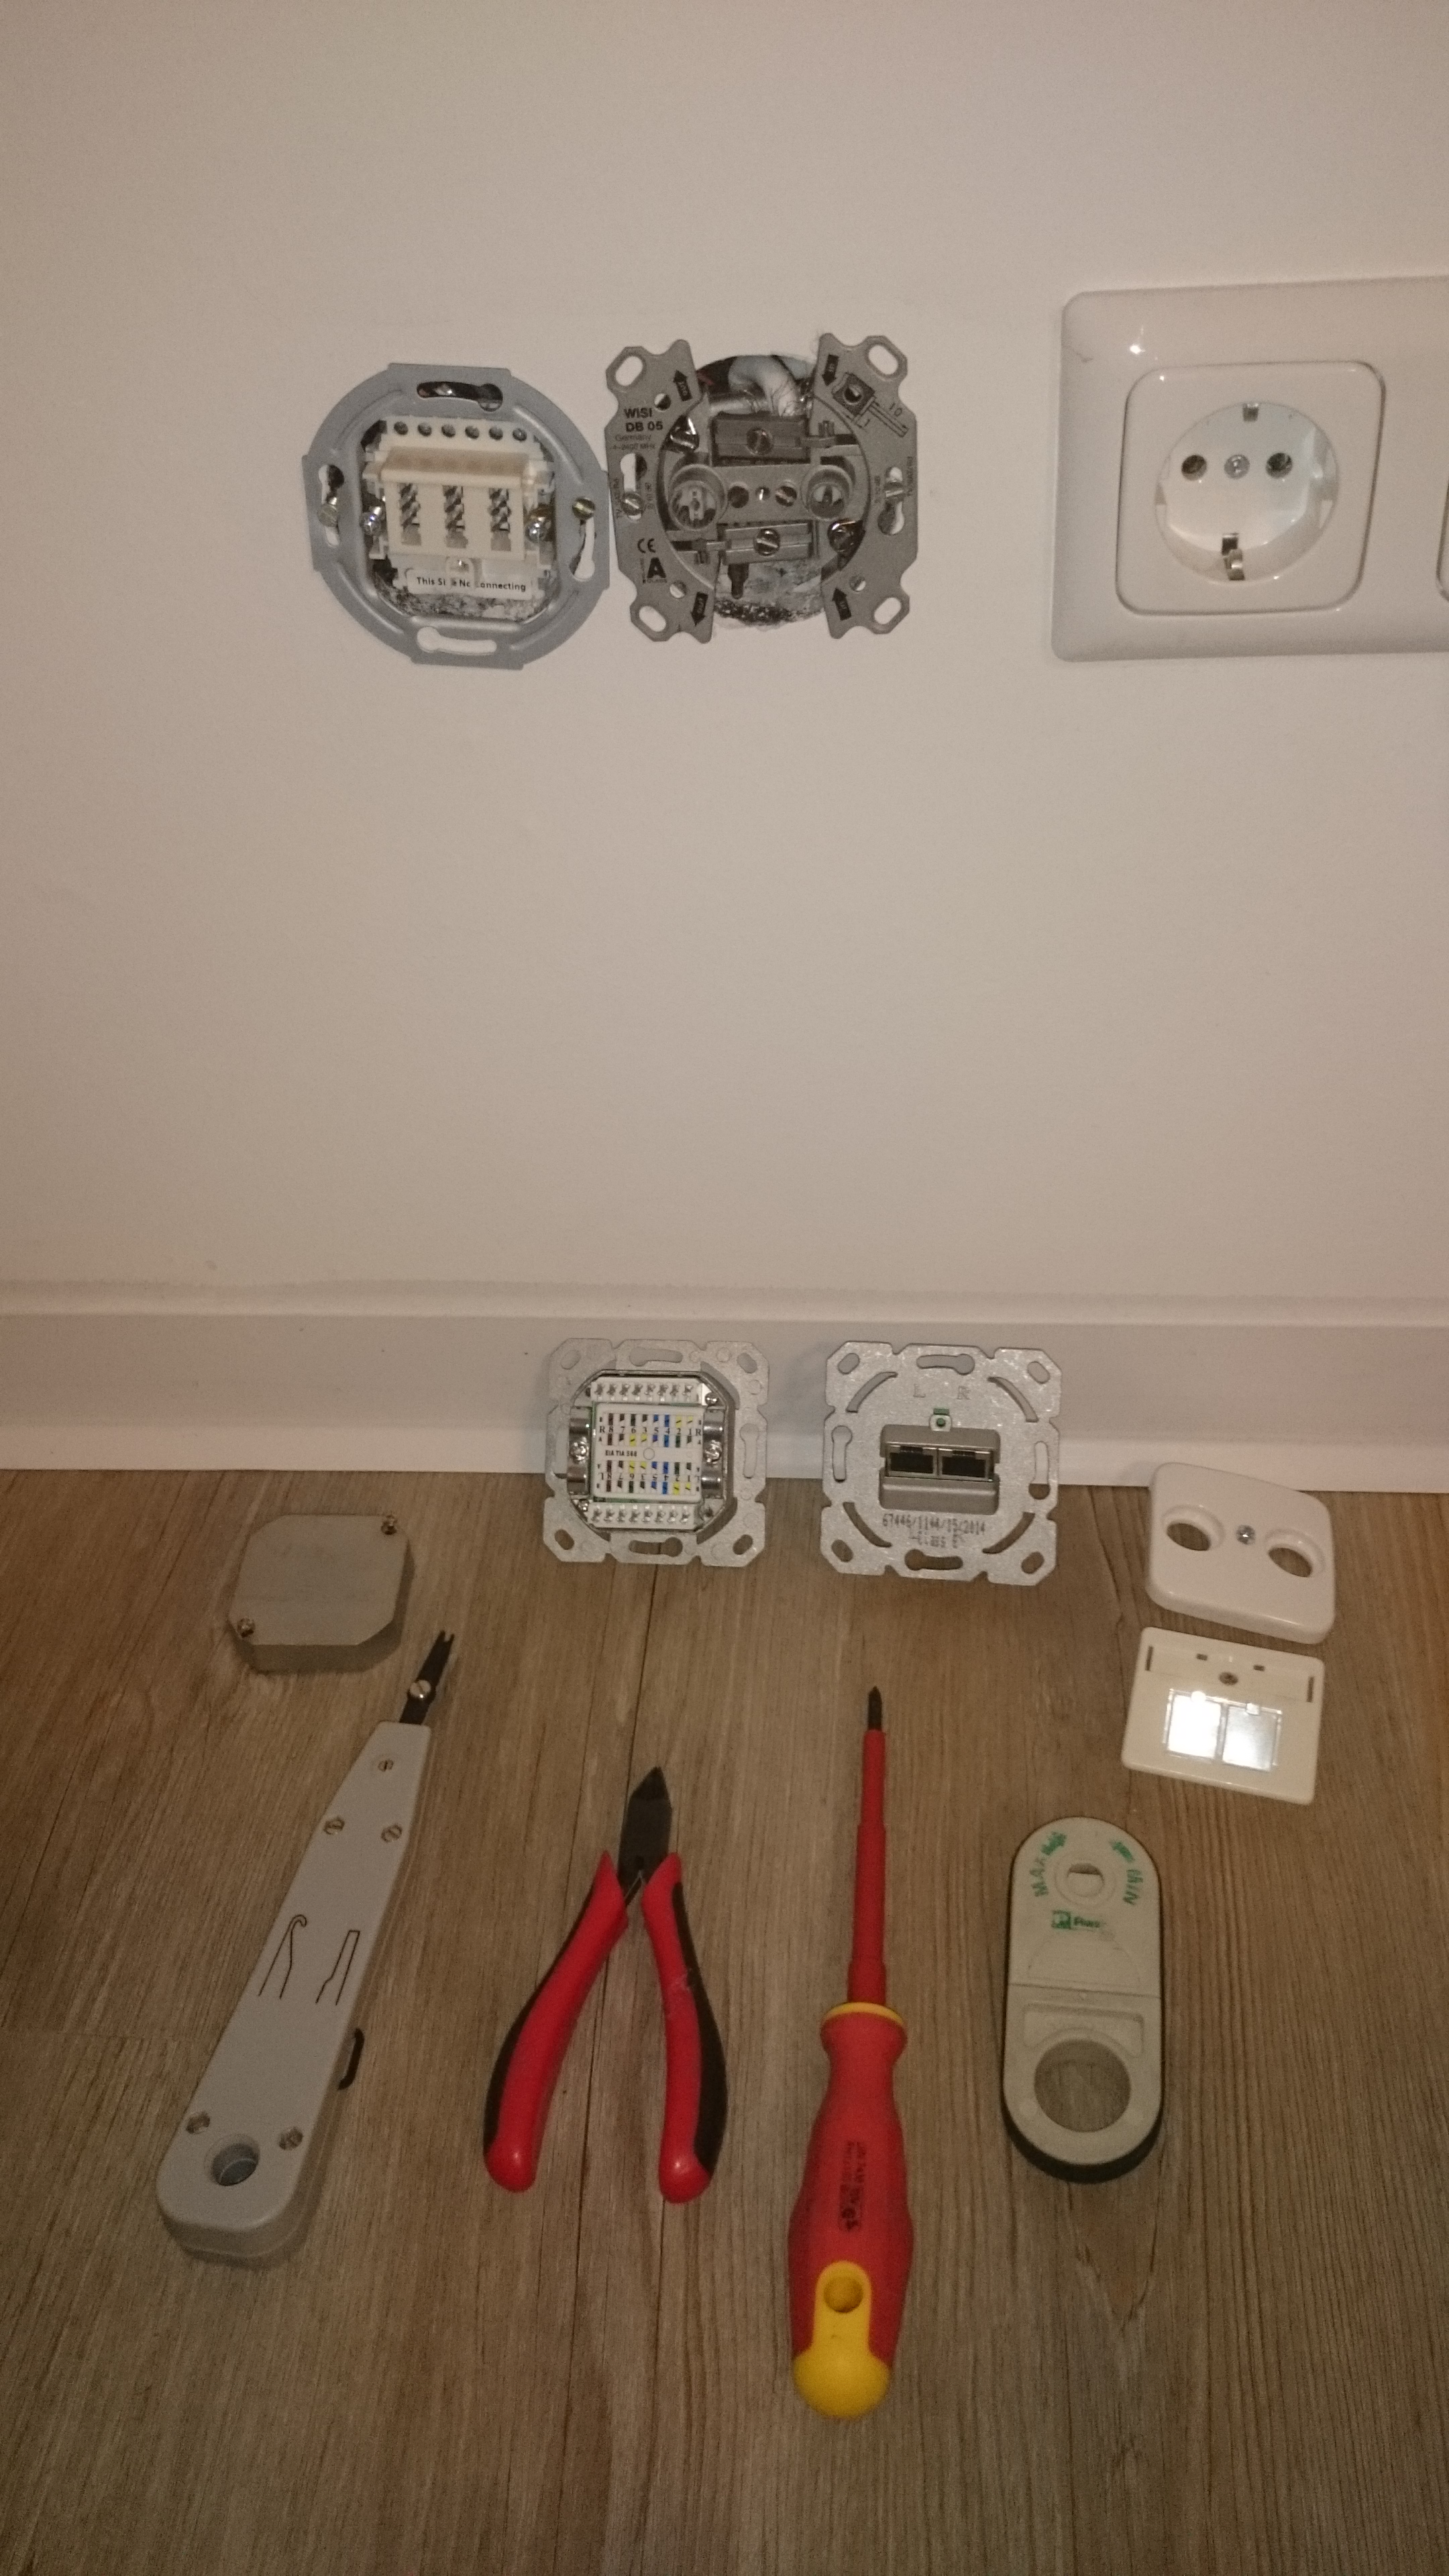
DSC_1116I was moving out from an apartment in central Berlin to a house in the suburbs during the Easter holidays. Instead of relxaing during the holidays I was extremly busy with packing and unpacking boxes. Like most IT guys it was important for me that I can get a high speed internet connection at my new location. In Berlin you have 2 basic choices for a wired internet connection. You can get DSL from a couple of providers over telephone copper cables. The other option is a connection over the TV coaxial cables.  The fastest connection you can get at my location with VDSL over telephone cable is 50Mbit down and 10 Mbit upload and with the coaxial TV cable 100Mbit down and 6 Mbit upload. Of course I ordered both of them so that I have at least one working connection at my new build house. As I talked to the hotlines from the ISPs 2 month ago, they where very confident that there would be no problems at all. They suggested that I can move in, just plug´n play my devices and everything should work out of the box. That didn´t worked out. First it looked promissing, when both cables the telephone and the coaxial where installed in the basement 1 month before I wanted to move in. The “Deutsche Telekom” can not provide any services for my location because my housenumber does not exsist in their registration system. I had to learn that even when all cables are there and everything would work from a technical point of view, you will not get a connection as long you are not registered, what ever that means. Ok I had a dual ISP strategy so I checked the status of the TV cable provider. Here it looked better , my name and housenumber was registered and they told me they will send a sub-contractor that will setup my connection. The sub-contractor sended me a mail the next day that they will come in 30 days to setup my connection. I was able after some discussions with the dispatcher to schedule an appointment in 15 days. I hadn´t mentioned so far the wireless connections are also not working at my new location. I call it offline valley, where only the locals have a secret treasure map with an X on the location where your mobil phone can get a connection. I have 2 mobil phones from 2 different providers both have nearly no signal. My workaround for the moment is to go to the roof of the house everytime I want to make a phone call.

Home LAN InfrastructureDSC_1118

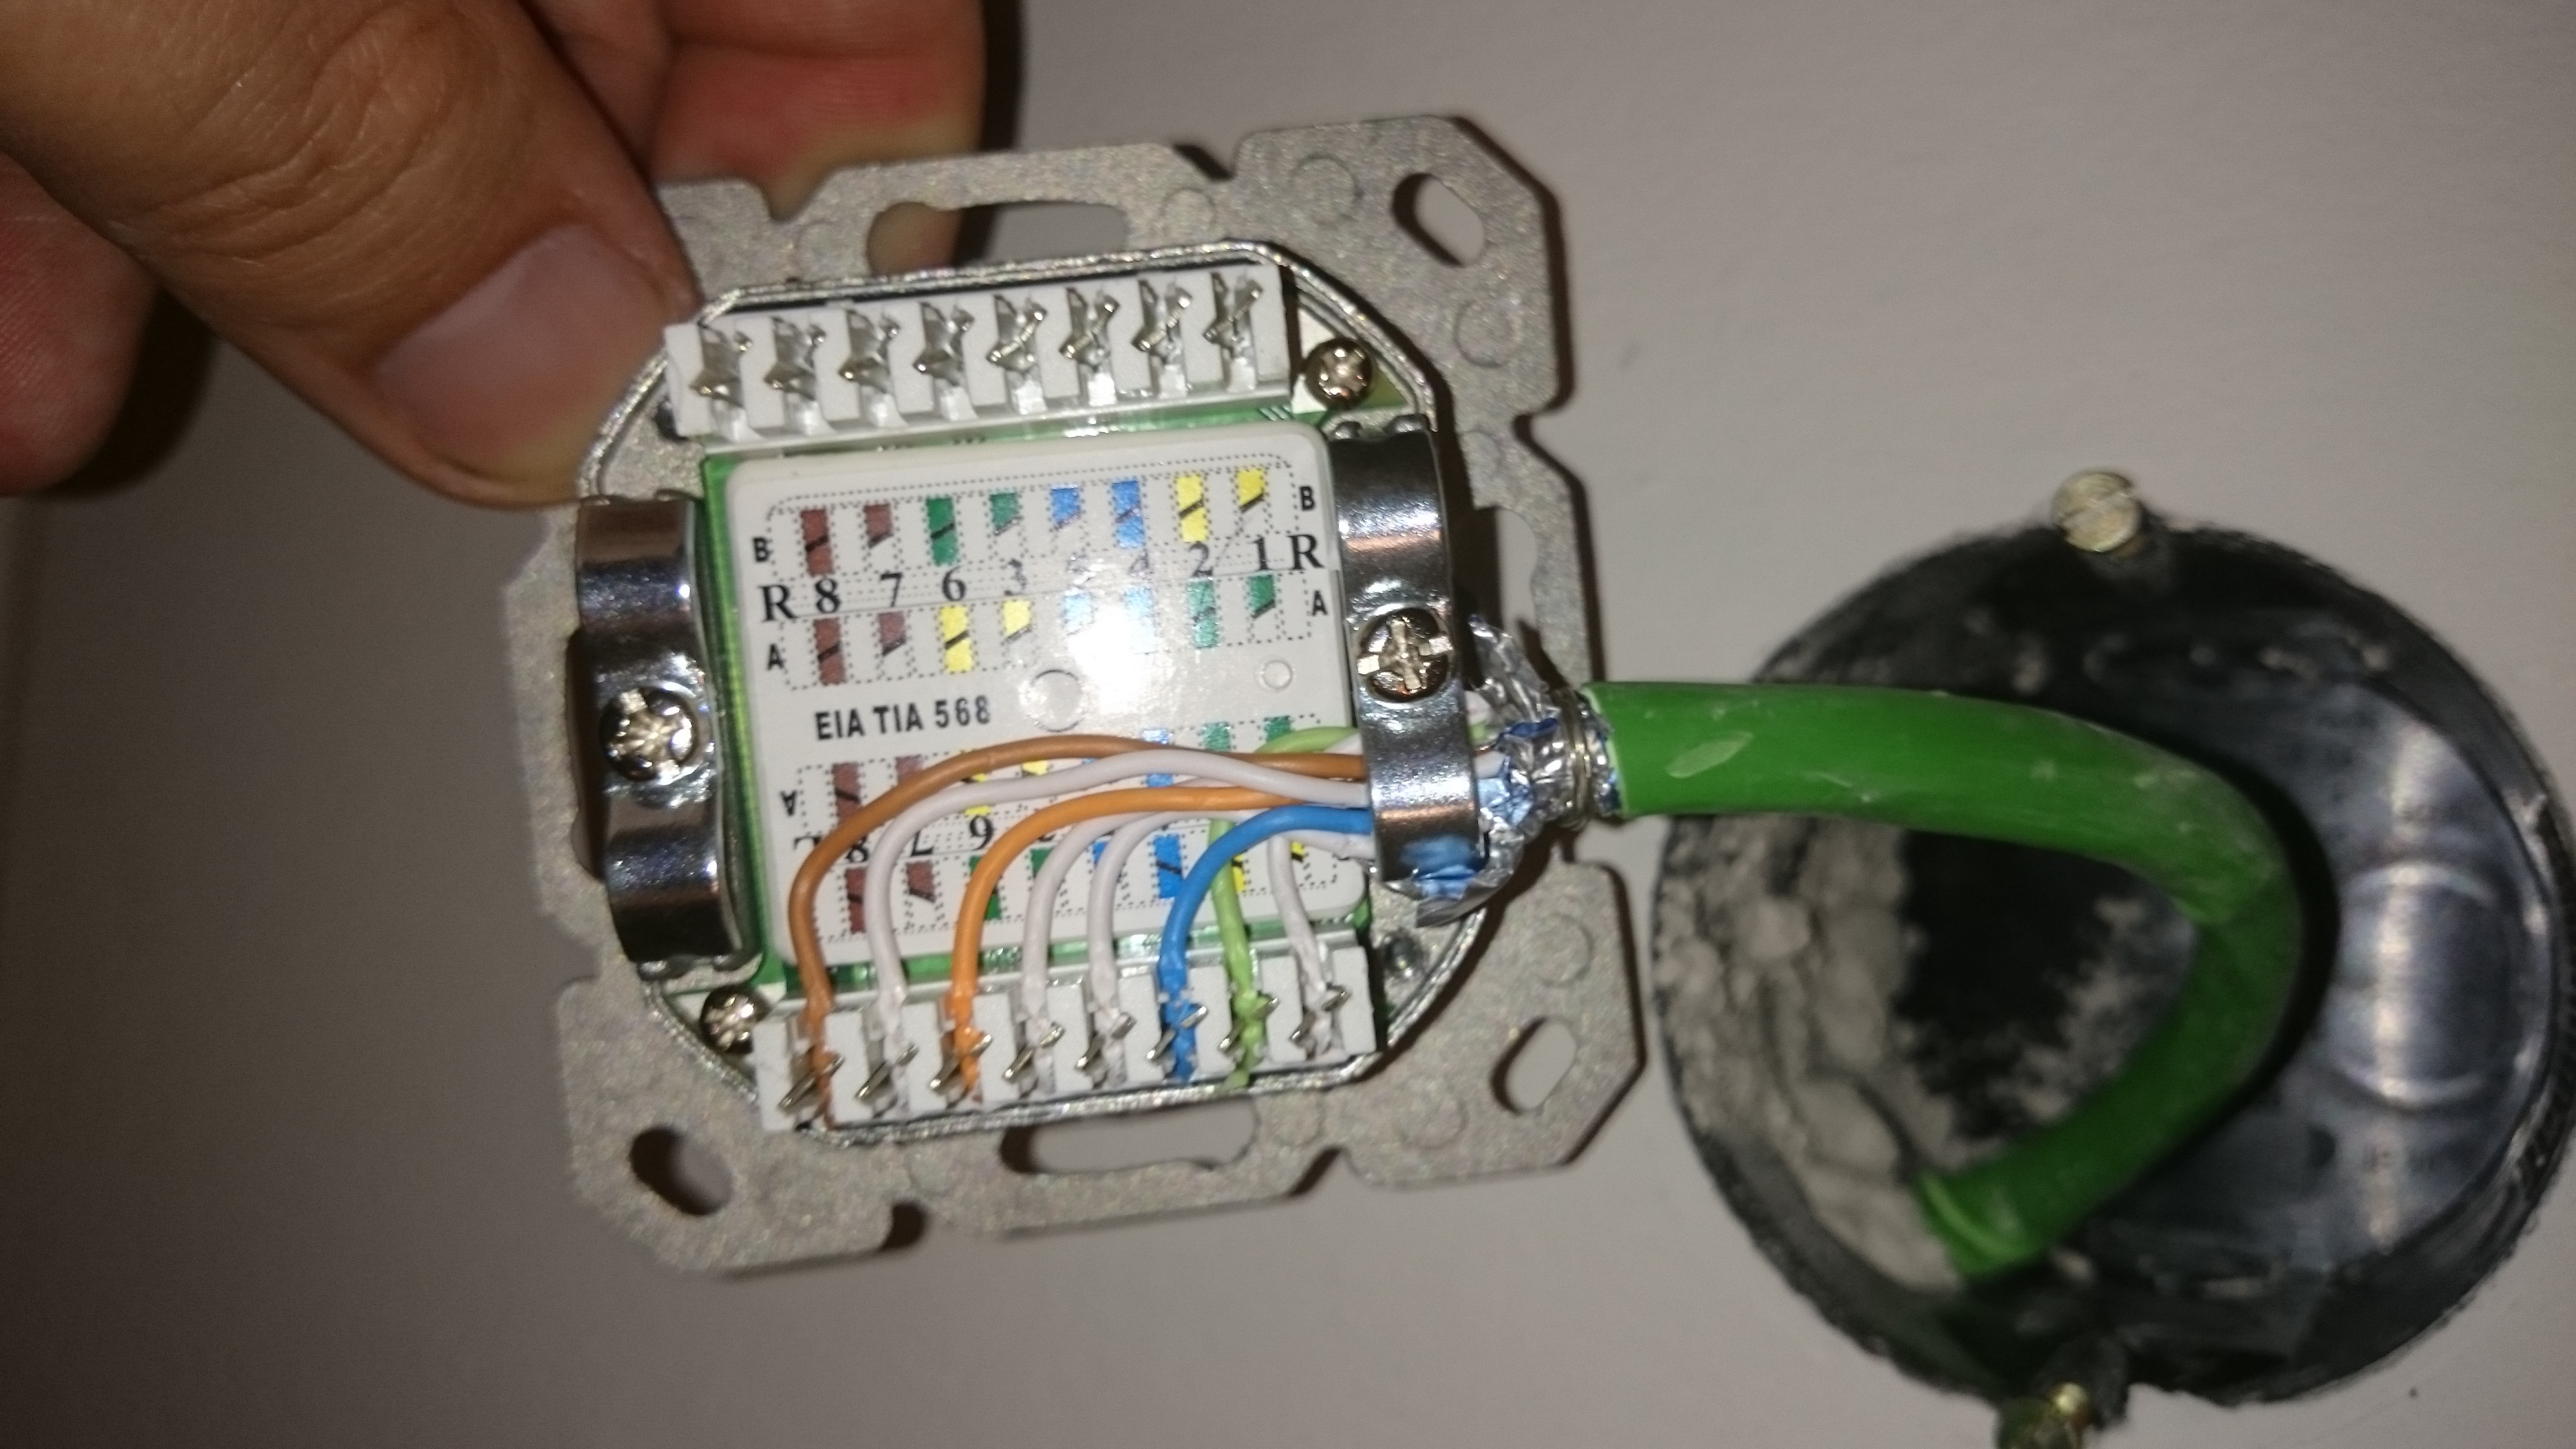
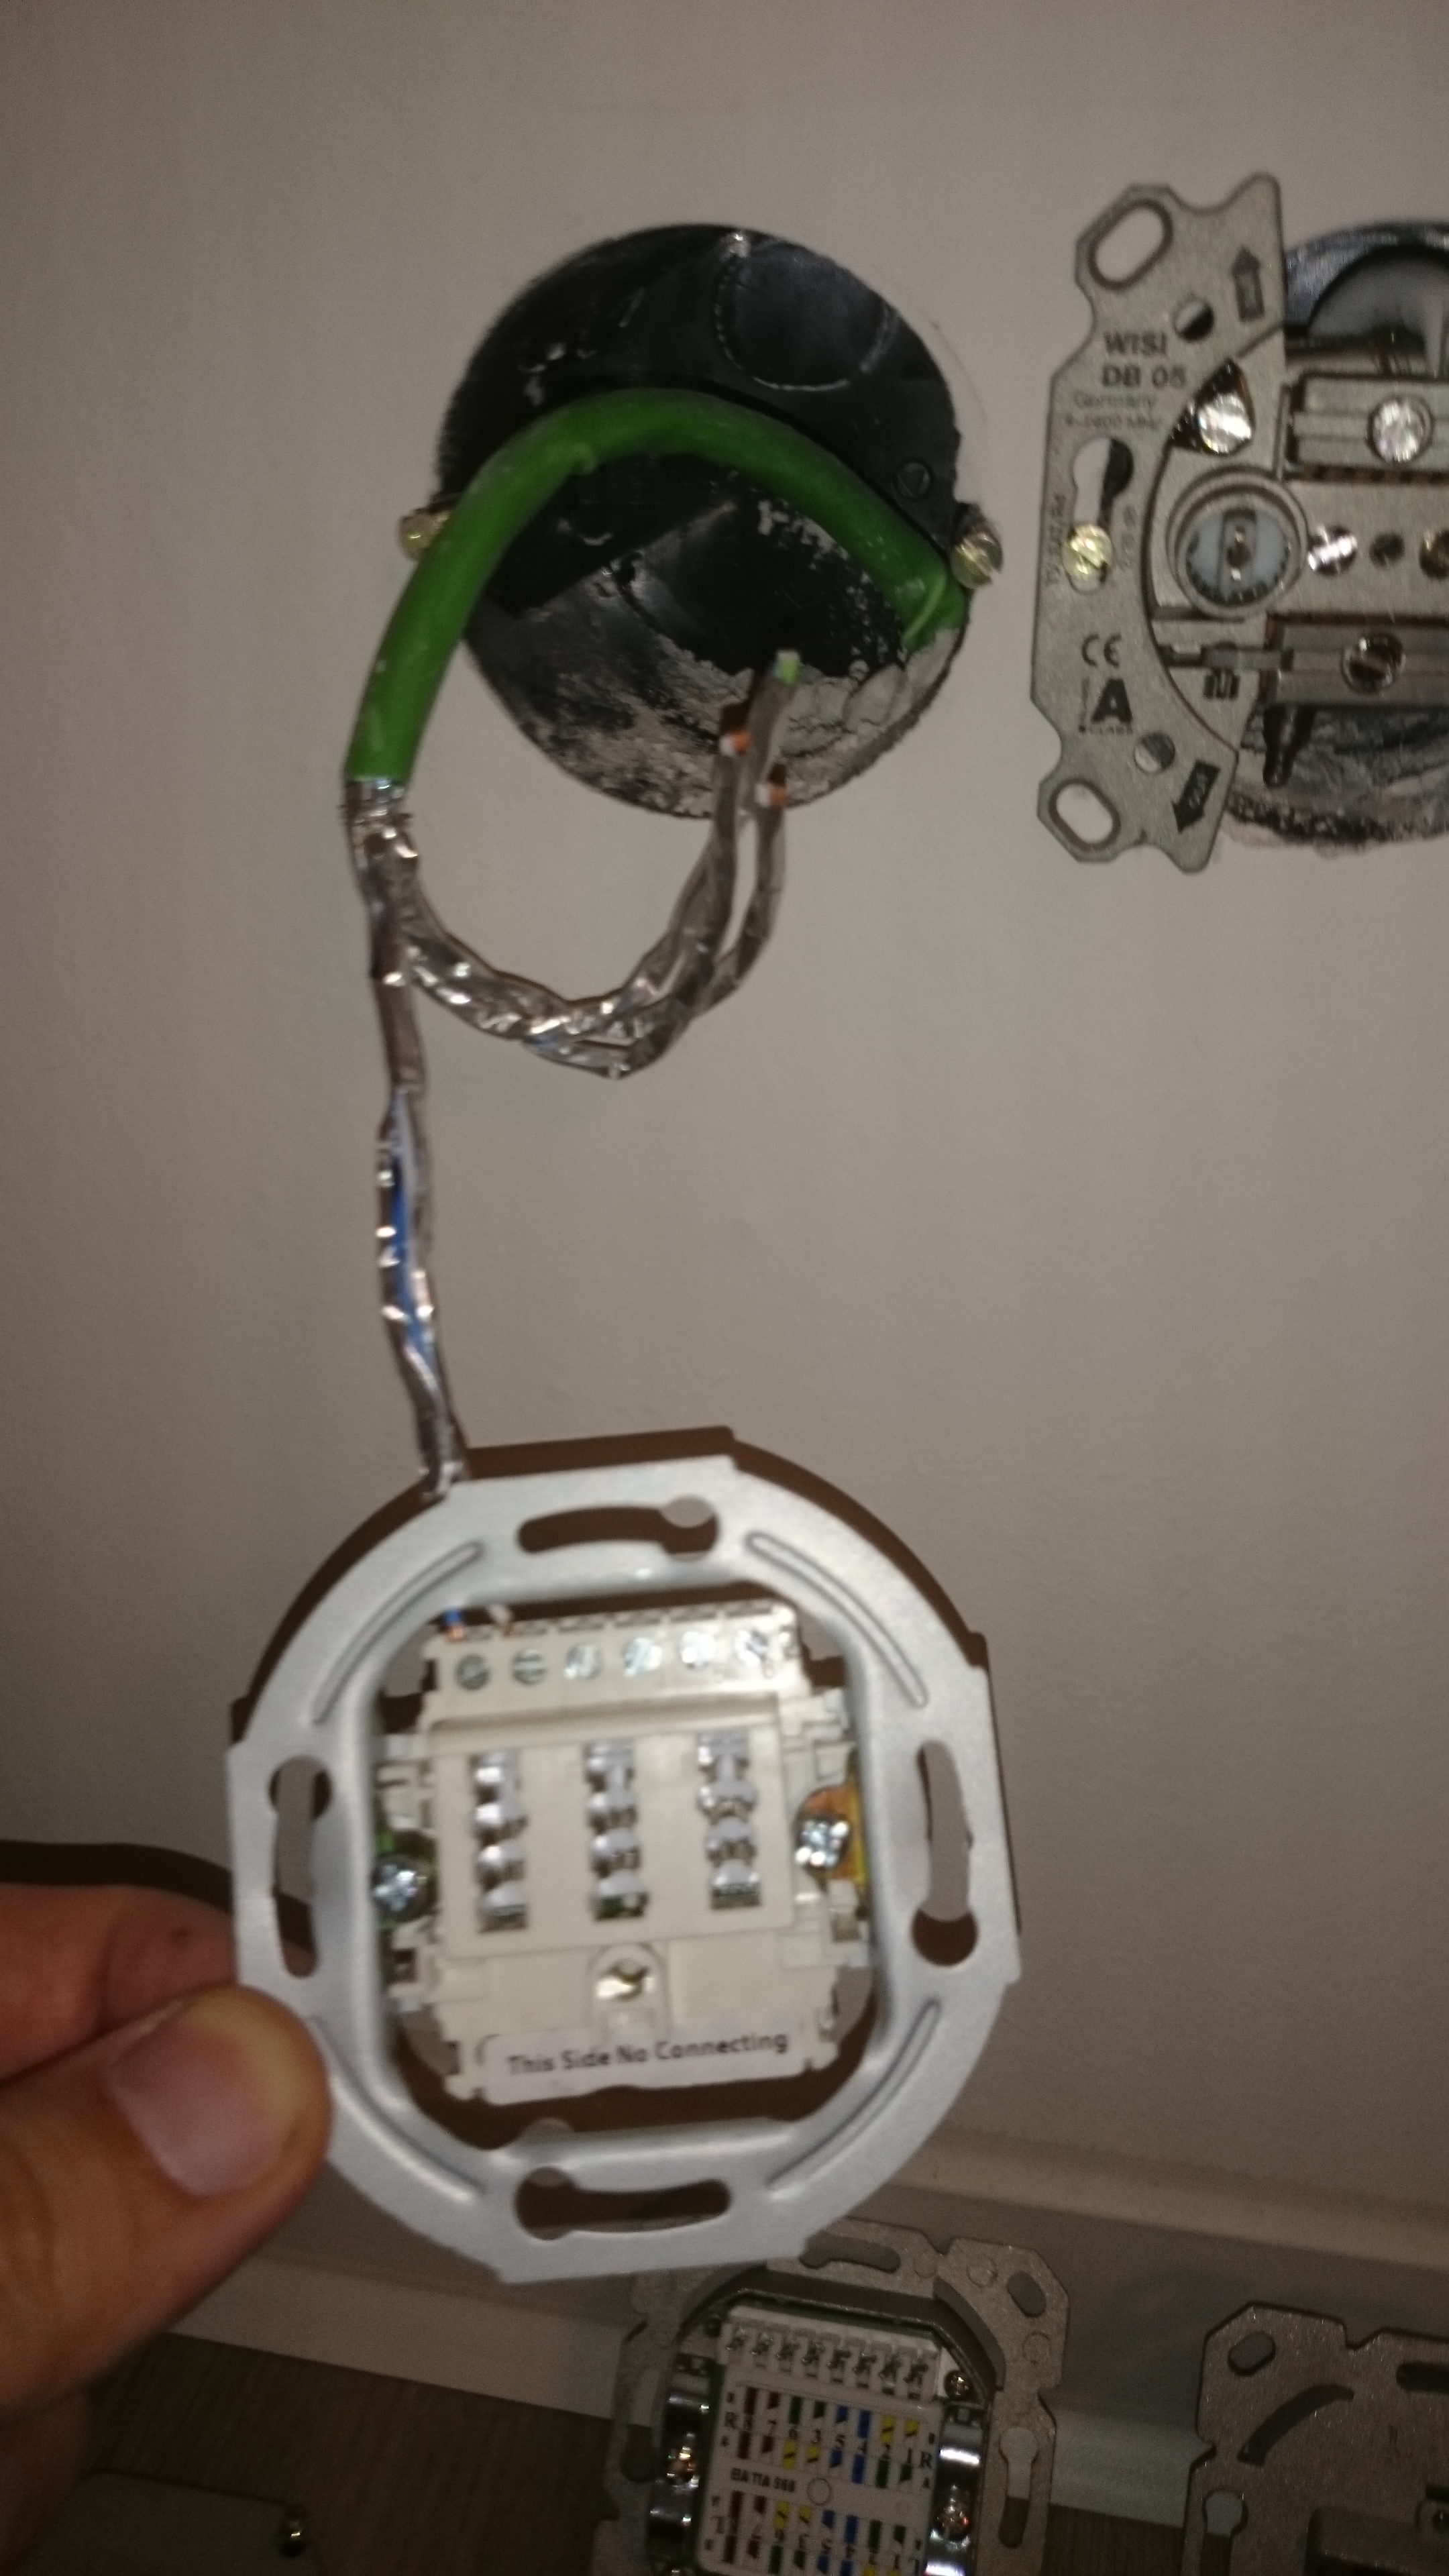
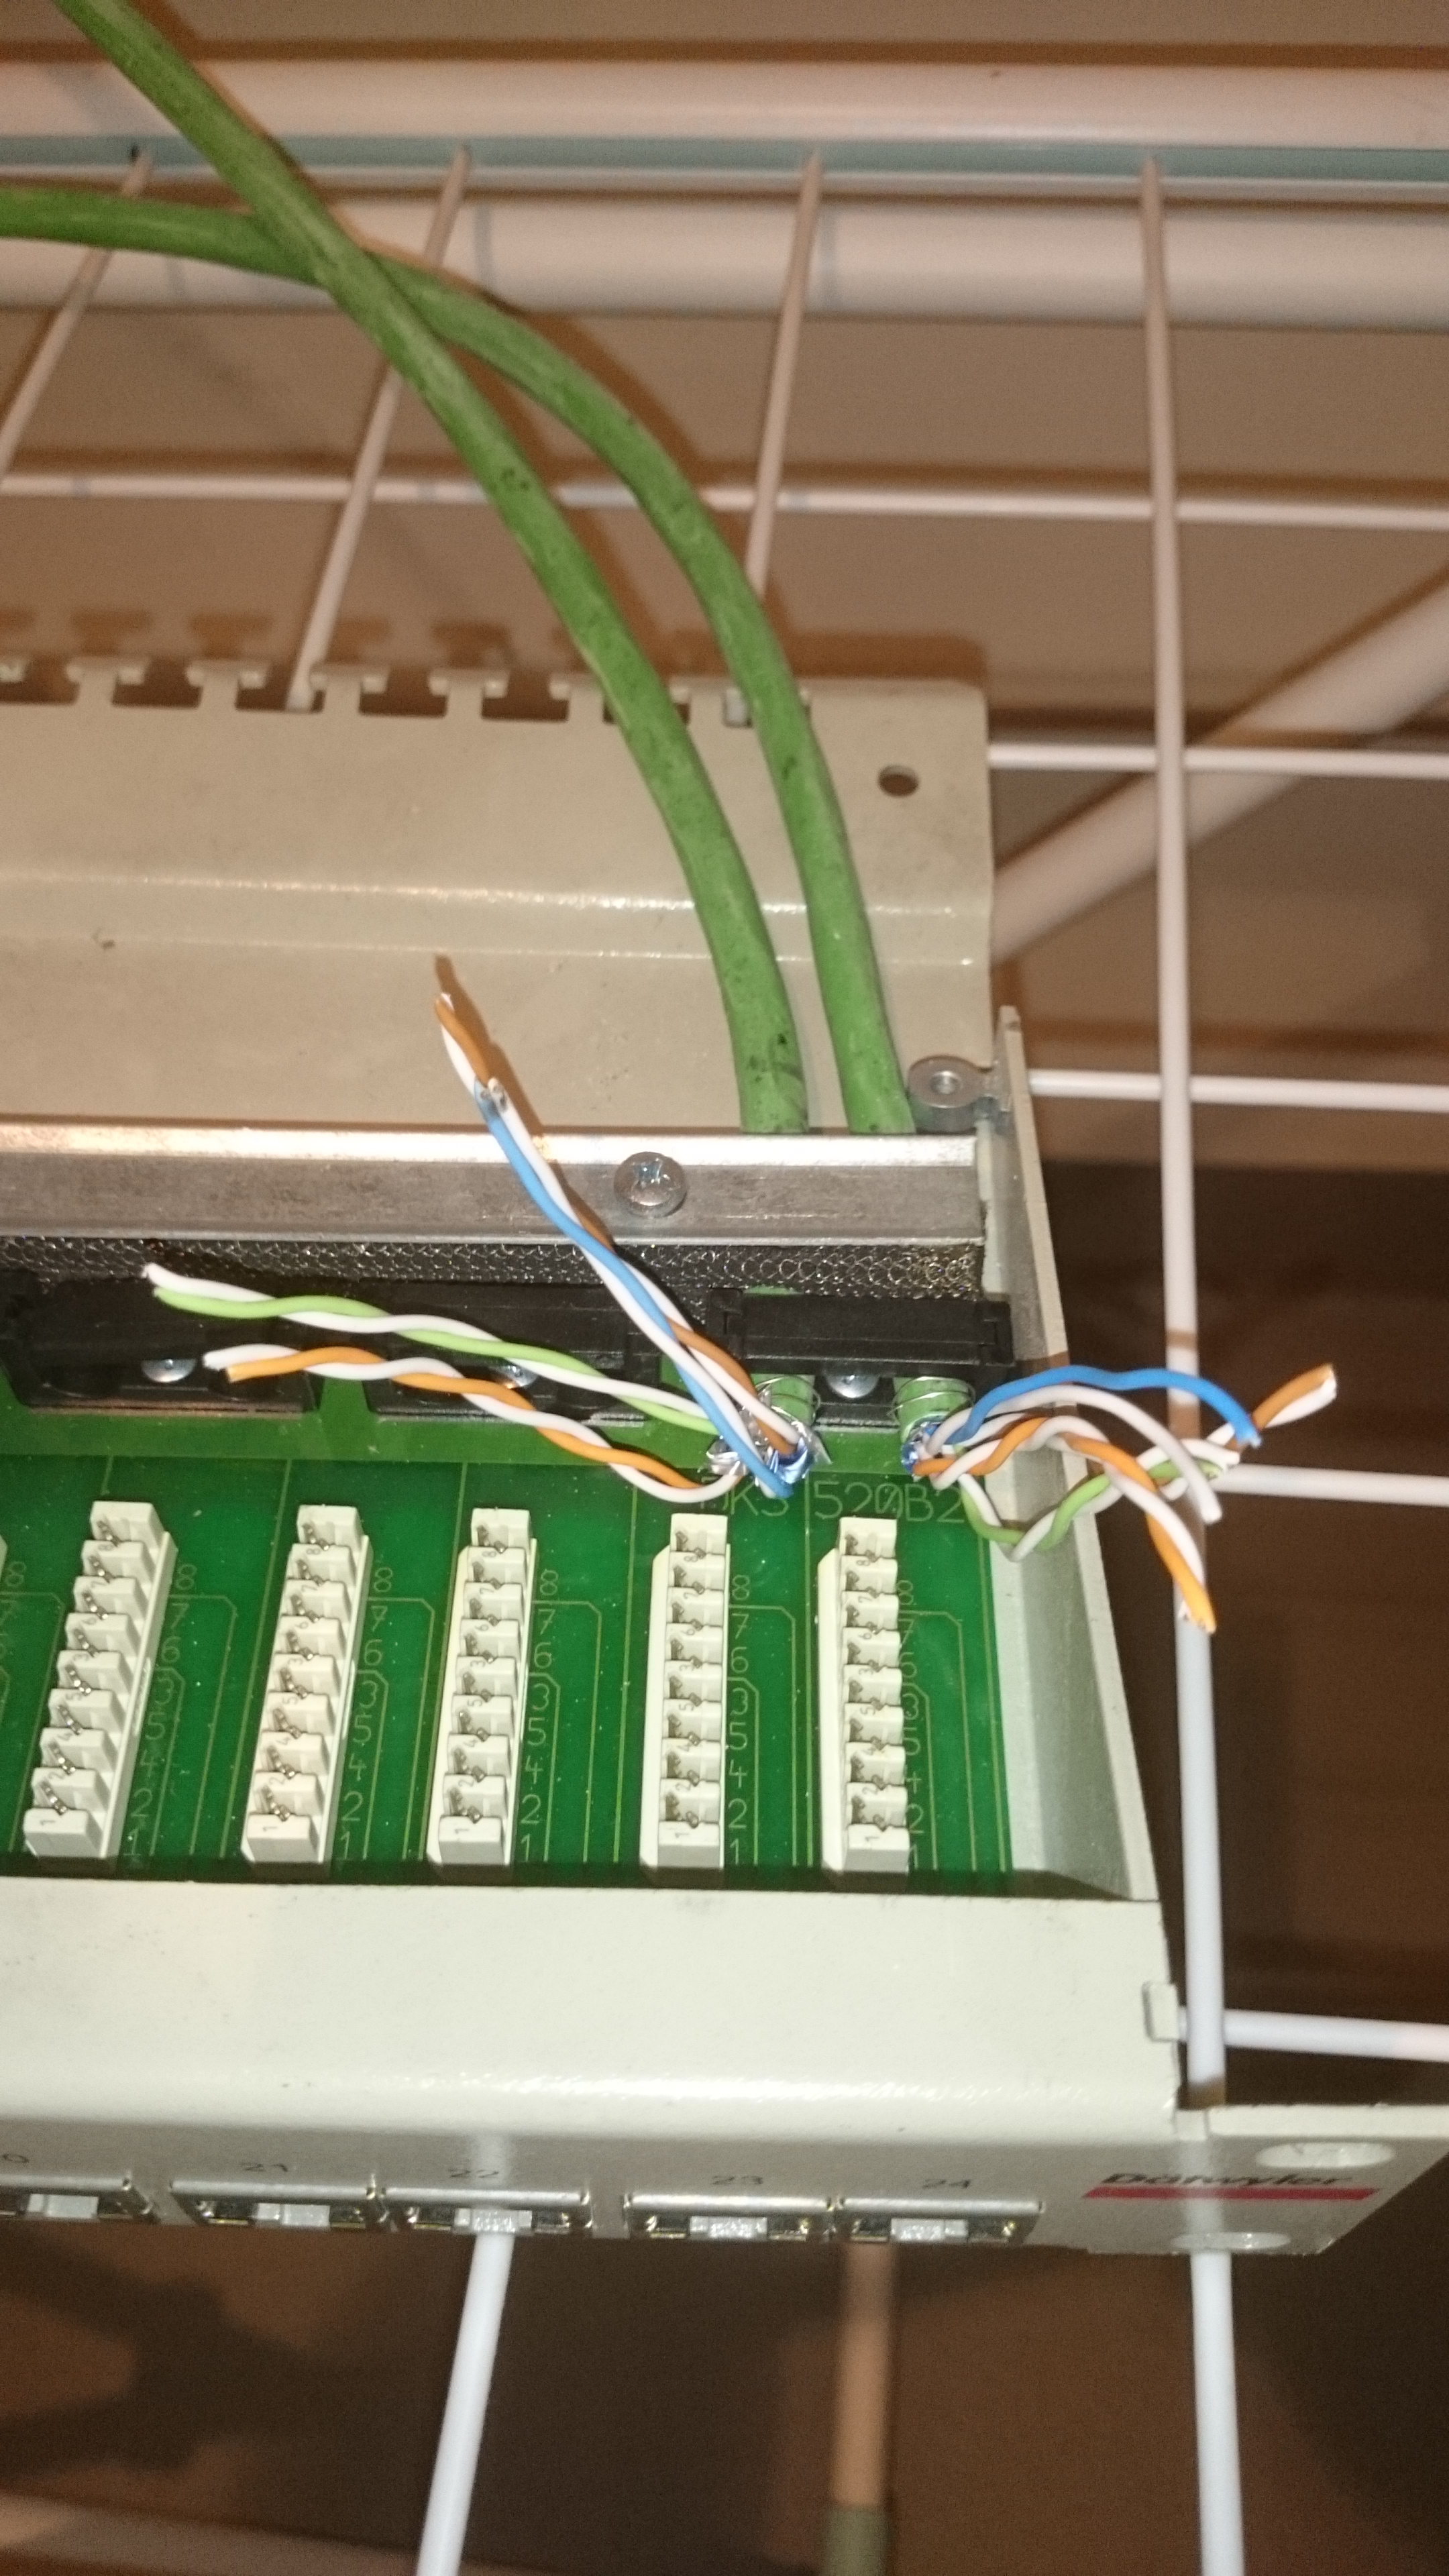
DSC_1117While I was waiting for the cable TV Provider to connect my house to their network I had time to setup the home LAN and WLAN infrstructure. During the building process of the house the contractor said, it would not be possible to have a network copper cable for each room, they can only provide telephone cable to all rooms. I was considering several alternatives like Ethernet over Power cable adapters or a wireless only solution. I was very happy as I discovered that the contractor has used for the telephone ports CAT6 cable. So I had at least one CAT6 cable from the basement to each room. All I had to do now was to replace the telephone jack with a RJ45 CAT6 jack. In the basement I installed a 24 port patchpanel. That finilized my passive LAN infrastructure. Now I needed a router, switches and accesspoints. In DSC_1122my day job I deal with switches that have a rich feature set and can be managed. For the home Network I was looking for a complete different device class, small and low power consumption are here important for me. I choosed the D-Link DGS-1005D Green line switches. D-Link says about there Green Line switches:

D-Link Green products implement special power-saving features that detect link status and cable length and adjust power usage accordingly. When a computer or network equipment is shutdown, switches often remain on and continue to consume a considerable amount of power.

    • With D-Link Green Technology, if there is no cable link or link partners turn off, D-Link Green Technology will put that port in a “sleep mode,” reducing power used for that port and saving energy.
    • If PCs connected to the switch are turned off, D-Link Green Technology can save up to 66% of the power used for each system.
    • D-Link Green Technology detects Ethernet cable length and adjusts power usage to save energy. This way, a port connected to a 20-meter cable only uses as much power as it needs, instead of using full power, which is only needed for 100-meter cables.
    • If cable length is less than 20 meters, D-Link Green Technology can save up to 62% power used for each system.

Haven´t measured the power consumption so far but it sounded promissing. For the WLAN connectivity I use 2x an AVM 6390 WLAN Router that I already have used at my old apartment. One is placed in the 1st Floor and one at the roof, that provides WLAN coverage for all rooms of the house and the basement. The AVM 6930 supports 802.11n, 802.11b/g/a and has 4x 1000BaseT Ports onboard. I have at the moment no devices that supports the new AC WLAN standard, so there is no need for AC accesspoints at this point for me.

Last Friday finally the Engineer from the ISP connected my uplink and I am very happy to be online in my new home. My first network measurments had shown that the ISP has some oversubscription in his network, at peak times from my “up to 100Mbit/s” there was only 24Mbit/s left. I will have to do some more measurments to get a better understanding how much bandwith I really have at my location.

Posted in All, Blog | Leave a comment

New Software Release 4.2 for the VSP4000 and VSP8000

Avaya has released the 4.2 VOSS Software for the VSP4000 and VSP8000 switch series.

With SW 4.2 is also some new hardware introduced:

VSP 8400 switch, which supports the following four Ethernet Switch Modules (ESMs):
– 8424XS: 24-port 10GBASE-SFP+ ESM
– 8424XT: 24-port 10GBASE-T ESM
– 8408QQ: 8-port* 40GBASE-QSFP+ ESM
– 8418XSQ: 16-port 10GBASE-SFP+ and 2-port 40GBASE-QSFP+ Combo ESM
 
New QSFP+ direct attach cables:
– QSFP+ to QSFP+ 40–gigabit, 0.5 meter Direct Attach Cable (DAC) assembly, which directly connects two QSFP+ ports
– QSFP+ to four SFP+ 10–gigabit direct attach breakout cable (BOC) assembly, which directly connect one QSFP+ port to four channelized SFP+ ports
 
The VSP 8400 is a modular device with 4 slots. With the 4 available modules you get more flexebilty than with the fixed VSP8200 model and more 40G ports.
 
New Software Features:
 
Authentication and password enhancements (enhanced secure mode)
Release 4.2 supports authentication and password enhancements. After you enable the new boot config flags enhancedsecure-mode, enhanced secure mode provides new role-based access levels, stronger password requirements, and stronger rules on password length, password complexity, password change intervals, password reuse, and password maximum age use.
 
Border Gateway Protocol
Release 4.2 updates the Border Gateway Protocol (BGP) to support the Internal Border Gateway Protocol (iBGP) and External Border Gateway Protocol (eBGP) features.
 
Channelization
Release 4.2 adds support for channelization, which allows you to configure 40Gbps QSFP+ ports to operate as four 10 Gigabit Ethernet ports.
 
Encryption module changes
Release 4.2 includes the encryption modules in the image file. There are no separate encryption modules. Therefore, the commands load-encryption-module and software add-modules have been removed. The commands are no longer required for the current release to load the encryption modules
 
Gratuitous ARP changes
Release 4.2 adds the ability to enable and disable Gratuitous Address Resolution Protocol (ARP).
 
Internet Protocol Security (IPsec)
Release 4.2 adds support for Internet Protocol Security (IPSec) for IPv6. IPSec adds support for OSPF virtual link for the security protection of the communication between the end points. You can also use IPSec with OSPFv3 on a brouter port or VLAN interface, for example, if you want to encrypt OSPFv3 control traffic on a broadcast network. You can also use IPSec with ICMPv6.
 
Log file updates with enhanced secure mode
With enhanced secure mode enabled, only individuals in the administrator or auditor role-based access levels can view log files to analyze switch access and configuration activity. However, no access level role can modify the content of the log files, not even the administrator or the auditor access level roles. After you enable enhanced secure mode, you cannot delete or clear log files no matter what your role-based access level is.
 
Remote Monitoring 2 (RMON2)
Release 4.2 adds support for Remote Monitoring 2 (RMON2) and updates information about RMON1. Remote Monitoring (RMON) is a management information base (MIB) or a group of management objects that you use to obtain or configure values using the Simple Network Management Protocol (SNMP). Remote Monitoring 1 (RMON1) is the original version of the protocol, which collects information for OSI Layer 1 and Layer 2 in Ethernet networks. RMON1 provides traffic statistics at the MAC layer, and provides statistics on Ethernet segments for packets and bytes received and transmitted.
RMON2 monitors network and application layer protocols on configured network hosts that you enable for monitoring. RMON2 expands the capacity of RMON1 to upper layer protocols in the OSI model. RMON2 adds the following MIBS: protocol directory, protocol distribution, address map, network-layer host and application layer host for the traffic passing through the CP for these MIB tables.
The system only collects statistics for packets that pass through the Control Processor (CP). RMON2 does not monitor packets on other interfaces processed on the switch that do not pass through the Control Processor (CP).
RMON2 collects statistics on:
• Protocols predefined by the system.
• Address mapping between physical and network address on particular network hosts that you configure for monitoring.
• Network host statistics for particular hosts on a network layer protocol (IP) that you configure for monitoring.
• Application host statistics for particular host on an application layer protocol that you configure for monitoring.
 
SNMP Q-Bridge MIB support
Release 4.2 adds support to Q-Bridge MIB (Management Information Base ) which is an industry standard to get statistics from switches.
 
Secure Copy changes
The current release does not support Secure Copy (SCP). The preferred alternative file transfer mechanism is Secure File Transfer Protocol (SFTP). A secondary alternative is File Transfer Protocol (FTP).
This feature change has impact on the following areas:
•Scripts:
For those scripts that use SCP for file transfer, they will need to be modified to use
SFTP or FTP in place of SCP.
•Third-party tools:
For those tools that currently use SCP, the alternate methods of support are SFTP or FTP.
•COM:
Because COM does not support SFTP, the alternative file transfer mechanism in place
of SCP is to enable and use FTP.
To enable FTP support in COM, do the following:
Within COM, under the Admin Group, modify the Device Credentials for the devices. In the Device and Server Credentials Editor, edit the Credential Set; click on the FTP tab and
populate the FTP User field and Password field that match with the devices. Save the changes, and then, you will be able to use FTP in COM with the devices.
For more information on COM, see the COM documentation.
 
Secure hash algorithm 1 and secure hash algorithm 2
Release 4.2 adds support for the secure hash algorithm 1 (SHA-1) and SHA-2.
SHA-1 is a cryptographic hash function that uses 160-bit encryption, usually given in a 40 digit hexadecimal number. SHA-1 is one of the most widely used of the existing SHA hash functions and is more secure than MD5.
SHA-2 is also a cryptographic hash function. SHA-2 updates SHA-1 and offers six hash functions that include SHA-224, SHA-256, SHA-384, SHA-512, SHA-512/224, SHA 512/256, with hash values that are 224, 256, 384, or 512 bits message digest size values. Output size depends on the hash function, so, for instance SHA-256 is 256 bits.
SHA-1 and SHA-2 take a variable length input message and create a fixed length output message referred to as the hash, or message digest, of the original message. If you use SHA-1 or SHA-2 with OSPF, each OSPF packet has a message digest appended to it. The message digest or hash must match between the sending and receiving routers. If the message digest computed at the sender and receiver does not match, the receiver rejects the packet. The hash functions produce a type of checksum or summary of the input.
 
Secure Shell changes
Release 4.2 updates Secure Shell implementation on the switch. The switch now supports only Secure Shell version 2 (SSHv2). SSHv2 also adds encryption support for MD5, SHA-1, and SHA-2.
 
SNMPv3 enhancements
Release 4.2 updates SNMPv3 to support Federal Information Processing Standards (FIPS) 140-2. SNMPv3 supports the Advanced Encryption Standard (AES) and Data Encryption Standard (DES) encryption options and Message Digest algorithm 5 (MD5), Secure Hash Algorithm 1 (SHA-1) and SHA-2 authentication types.
If you enable enhanced secure mode, the VSP switch does not support the default SNMPv1 and default SNMPv2 community strings, and default SNMPv3 user name. The individual in the administrator access level role can configure a non-default value for the community strings, and the VSP switch can continue to support SNMPv1 and SNMPv2. The individual in the administrator access level role can also configure a non-default value for the SNMPv3 user name and the VSP switch can continue to support SNMPv3.
If you disable enhanced secure mode, the SNMPv1 and SNMPv2 support for community strings remains the same, and the default SNMPv3 user name remains the same. Enhanced secure mode is disabled by default.
 
SoNMP Changes
Release 4.2 updates the SoNMP Topology Discovery Protocol to include support for channelization.
The SONMP hello packet includes sub-port information channelization is enabled.

Note:
For the update it is no longer the modules files wich included in privious releases the encryption files needed.
Avaya has now integrated all encryption files inside the main image.
There are also some bugfixes included in the 4.2 release.
For more informations check out the 4.2 Release Notes:
Posted in All | Leave a comment

How to configure MACsec for Avaya VSP Switches

macsec_headerThe IEEE 802.1AE MAC Security standard or also known as MACsec discribes a point to point encryption for Interfaces. The encryption uses an AES cypher. I like the idea that you can encrypt all the uplinks in your network with a basic protection that adds nearly no latency and works on full line rate. To get encryption for 10 Gigabit connections with traditional VPN appliances is very expansive and adds a fair amaount of extra latency. The encryption proccess for MACsec is done from the hardware asic that gives the benefit that it is very fast without the need of extra cpu time. You can do the encryption direct on Layer 2 wich makes it transparent for your network. At the moment MACsec gets available on more platforms across many vendors so that is possible to build a network with only MACsec capable hardware with planty of choices. For example Avaya has MACsec capable hardware in the VSP4450GSX, VSP8200, VSP7200, ERS5900 and the VSP9k 9048XS-2 line cards. MACsec is only supported on the SFP+ Ports on these devices. I show step by step what is needed to enable MACsec on a VSP switch.

To configure MACsec on the VSP you need first to create a cennectivity association wich is assosiated with a key. This is not shown in the running config for security reasons. The ca-name can be up to 32 Byte alphanumeric signs and the key cak-value up to 80 Byte alphanumeric signs.

macsec connectivity-association test connectivity-association key (cak-value)

When you have your ca configured you can associate it with an interface on that you would like to enable MACsec.

interface GigabitEthernet 1/50
 macsec connectivity-association test
 macsec encryption enable
 macsec enable

That has to be identically configured on both switches that you would like to connect to each other with MACsec enabled interfaces.


VSP4k-1:1#sho macsec connectivity-association
================================================================================
 MACSEC Connectivity Associations Info
================================================================================
 Connectivity Connectivity Port
Association Name Association Key Members
--------------------------------------------------------------------------------
test 112233445566778899aabbccddeeff00 1/50
VSP4k-1:1#sho macsec status
================================================================================
 MACSEC Port Status
================================================================================
 MACSEC Encryption Replay Replay Encryption CA
PortId Status Status Protect Protect W'dow Offset Name
--------------------------------------------------------------------------------
1/50 enabled enabled disabled -- none test
VSP4k-1:1#sho macsec statistics 1/50
================================================================================
 MACSEC Port Statistics
================================================================================
 TxUntagged TxTooLong RxUntagged RxNoTag
PortId Packets Packets Packets Packets
--------------------------------------------------------------------------------
1/50 0 0 0 648
RxBadTag RxUnknown RxNoSCI RxOverrun
PortId Packets SCIPackets Packets Packets
--------------------------------------------------------------------------------
1/50 0 0 0 0

Note you will need an extra license to get the MACsec feature.

Cheers

Posted in All, Avaya, Howto | 3 Comments

Documentation needed

documentation_neededIn the past I worked as an external consultant for different customers. When I arrived I would ask for the documentation to get an overview of the network. In some cases you get an unpleasantly long silence and some admin has to admit that there is no documentation at all. You hear something  like “mmh we usually only do port discriptions on the switches”. In my opinion that is not a good idea. Running  a network without proper documentation can end you up in a very uncomfortable situation, especially when something breaks and you have to start figuring out how everything is connected to each other before you can start to debug the actual problem. I have a simple rule, first do the documentation and when that is finished a change or rollout can start. The key is to implement the documentation into the workflow. It starts with simple things like that every device gets a label with the device name on it. I also recommend  a lable at every patch cable with a unique  ID and the start and end point of both sides of the cable. All the information  needs to be put in a database, so that you can get the information very quickly with a simple search. It depends on your needs if you use an free open source database or one of the commercial tools that come with a lot of fancy features.  At the end  of the day  the goal is that you have everything documented in your database and can find all hardware components and connections here. Checking out all the cabling of a device in the moment that it is broken is absolutely  no alternative.  I´ve been there and don´t want  to face it again.

IPAM IP Address Management

I guess that still Excel is the most common tool for IP Address management  and IMHO one of the worst choices for that job.  Maintining a few hundred IP Addresses  in an Excel list will work , but there are so many better tools out there for IP Address Management than Excel. Besides open source tools like NIPAP or phpIPAM,  there are also powerful commercial solutions available. I like the concept of Infoblox IPAM solution that is a combination of IPAM, DNS and DHCP Server in one box. Most devices need a DNS name or DHCP lease with a combined server, that does the documention at the same time. When that device is provisioned and roled out you have always an up to date documentation. It is a real challenge to keep the documentation up to date and the integration of IPAM, DNS and DHCP solves that problem very clever. With IPv4 some network engineers had all the local IPv4 addresses in their heads and didn´t see the need for an IP Address management. I believe with IPv6 even these guys will consider to use an IPAM solution.

Network Diagrams

Microsoft is often trashed by engineers, but for me one of the products that Microsoft has done right is Visio. Visio is still the standard and gives all the needed features for a vector graphic programm that is specialized for network diagrams. You can get visio shapes from most vendors. What you choose depends on your personal style if you want to use more symbolic shapes or the ones that are a 1:1 picture of the actual used device. I prefer the vendor shapes so I can directly see what kind of devices I am dealing with and have a general feeling what a device  looks like in case I have to find it on a rack. I like to have an extra visio for each site / network. In addition to the network diagram I add some additional information,  like the local facility manager that can be called if you have a power failure. On top of the physical network diagram you can add additional layers with macros like you have in photoshop. In case of different overlay networks or different vrfs it is really handy just to switch the different layers in vision so that you only see the relevant layer. To much information in one diagram makes it harder to find a particular information. To use macros and layers is the better option.

Config Backups

Last but not least an often forgotten source for information are the configs of all the devices in the network. I see that also as a documentation source. The oldschool way was to connect to a device via ssh and type some show commands to get the needed information. That works good for a particular information on a particular device. You get more comfort when you grep something across all your devices by a script put the output into a database and search for an information in this output. That can also be done for the config backups. For example you grep all configs from your devices every day make a diff to the previous config and put that into a database . So you can track more easy which changes have been made on a device.

The Network Autobahn view:

It is always good to have a valid up to date documentation of the network. The two big challenges are: keeping the documentation up to date and having a nice structure so you can access the needed informations fast and easy. The Documentation has to be maintained on a regular basis by all IT folks. This is not a job for only one documentation guy, it is a team effort. That can be time consuming and is not popular a job with many engineers, but it is necessary.  When there is a big failure in the network you earn the benefits of spending time on documentation as it helps you to figure out what is going on and to fix the problem faster.

Posted in All | 5 Comments

News: Avaya ERS5900 Switches

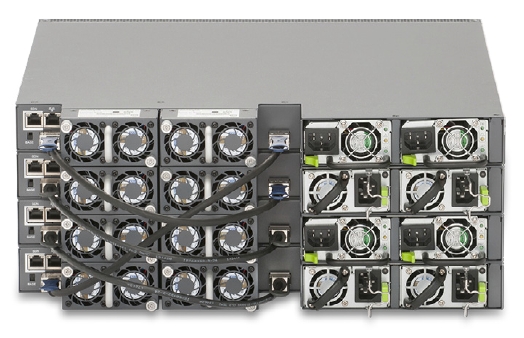
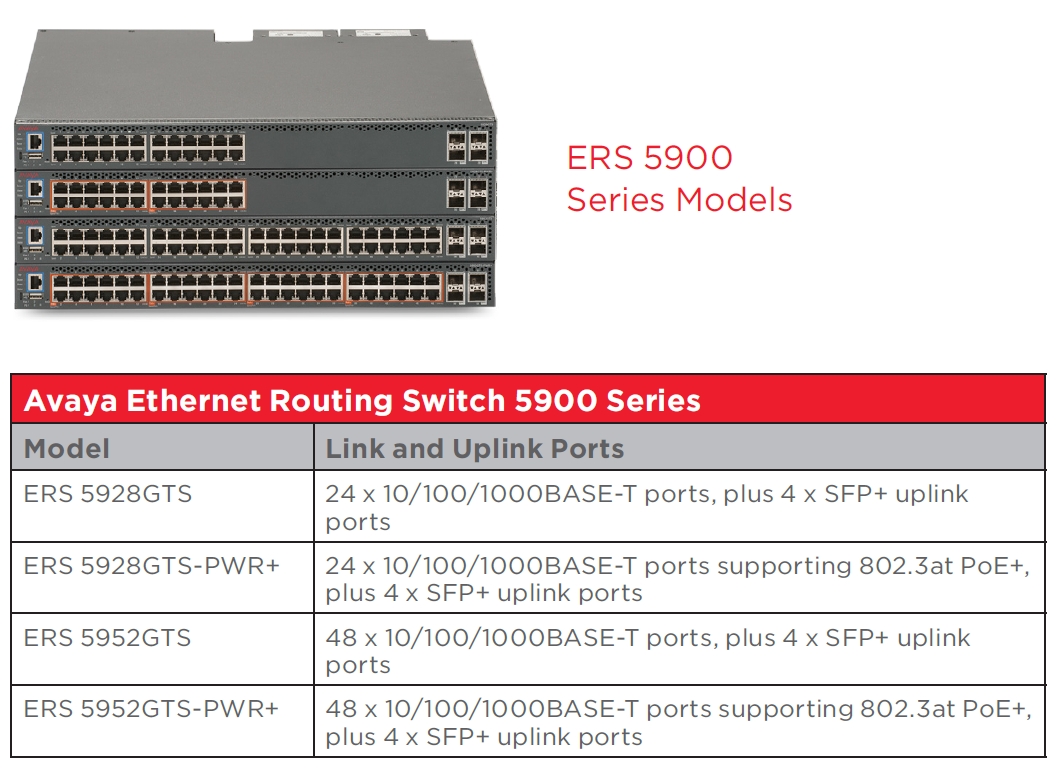
ERS5900_datasheet_backAvaya has published a datasheet for the new ERS5900 switche family wich will be introduced in June 2015. The ERS5500 and ERS5600 are just gone into EoS/EoL and the ERS5900 is the replacement product from Avaya. Most of the key features are similar to the privious ERS5k models like stacking up to 8 Units and liftetime warrenty. New on the ERS5900 is the SPB support including L3 services and Multicast Routing.  From the hardware side all ERS5900 will now have SFP+ slots and 2 modular power supplys. The modular fans are available with back-to-front or front-to-back airflow like the fans that we know from the VSP7k. On the datasheet there are 4 different versions mentioned for the market introducing. I suggest Avaya will make more hardware versions availble over the time.

ERS5900_datasheet

The Network Autobahn view:

It make sense for Avaya to refresh their high end stackable series and make it full SPB capable. That gives the oportunity to deploy decentralized L3 routing in a SPB network with ERS5900, wich is not possible with the ERS4800 or VSP7k in the moment. I also like the modular fans wich gives more choices for datacenter deployments. IMHO the ERS5900 is at the moment not a complete replacement for the old ERS5500 and ERS5600, it is missing the SMLT feature and a hardware version with more SFP+ ports like the ERS632 or 5530 wich where often used as small core switches. Hopefully we will see more different HW versions of the ERS5900 family and the SMLT feature in the near future.

For more Informations check out the Datasheet:

http://www.avaya.com/usa/documents/avaya-ethernet-routing-switch-5900-series-dn7705.pdf

Pictures credit by Avaya


Posted in All | 1 Comment

EoL and EoS for the ERS4500, 5500 and 5600 switches

ERS5k_E0LAvaya has published the End of Life / End of Sale notice for their switch familys ERS4500, ERS5500 and ERS5600.  This means that in 5 years the lifetime warrenty and the vendor support will end for these products.  The ERS5510 has been for sale for over a decade. I can remeber 10 years ago my first Gigabit deployment with the ERS5510 switches wich where called BayStack5510 at that time. It was at the beginning a pure Layer2 Switch, over the years Nortel and later Avaya has constantly developped new features for the platform so that it is a full Layer 3 device wich supports the switchcluster SMLT technology today. I was expecting that Avaya was sending the ERS5500 and ERS4500 into EoL, for me it was a surprise that the ERS5600 is also going EoL. I think the two factors that the ERS5600 does not support SFP+ modules and has no SPB capable hardware inside has driven Avaya to that descion. For the ERS4500 switches is already the replacement product the ERS4800 available. For the ERS5k Avaya will introduce in June 2015 the new ERS5900 switches. Looking forward to see the specs for that devices, maybe somebody has already spotted one of the ERS5900 at the ATF on Orlando.

ERS 4500 EoS/EoL:
https://downloads.avaya.com/css/P8/documents/101007922

ERS 5500 EoS/EoL:
https://downloads.avaya.com/css/P8/documents/101007928

ERS 5600 EoS/EoL:
https://downloads.avaya.com/css/P8/documents/101007931

Posted in All | Leave a comment